
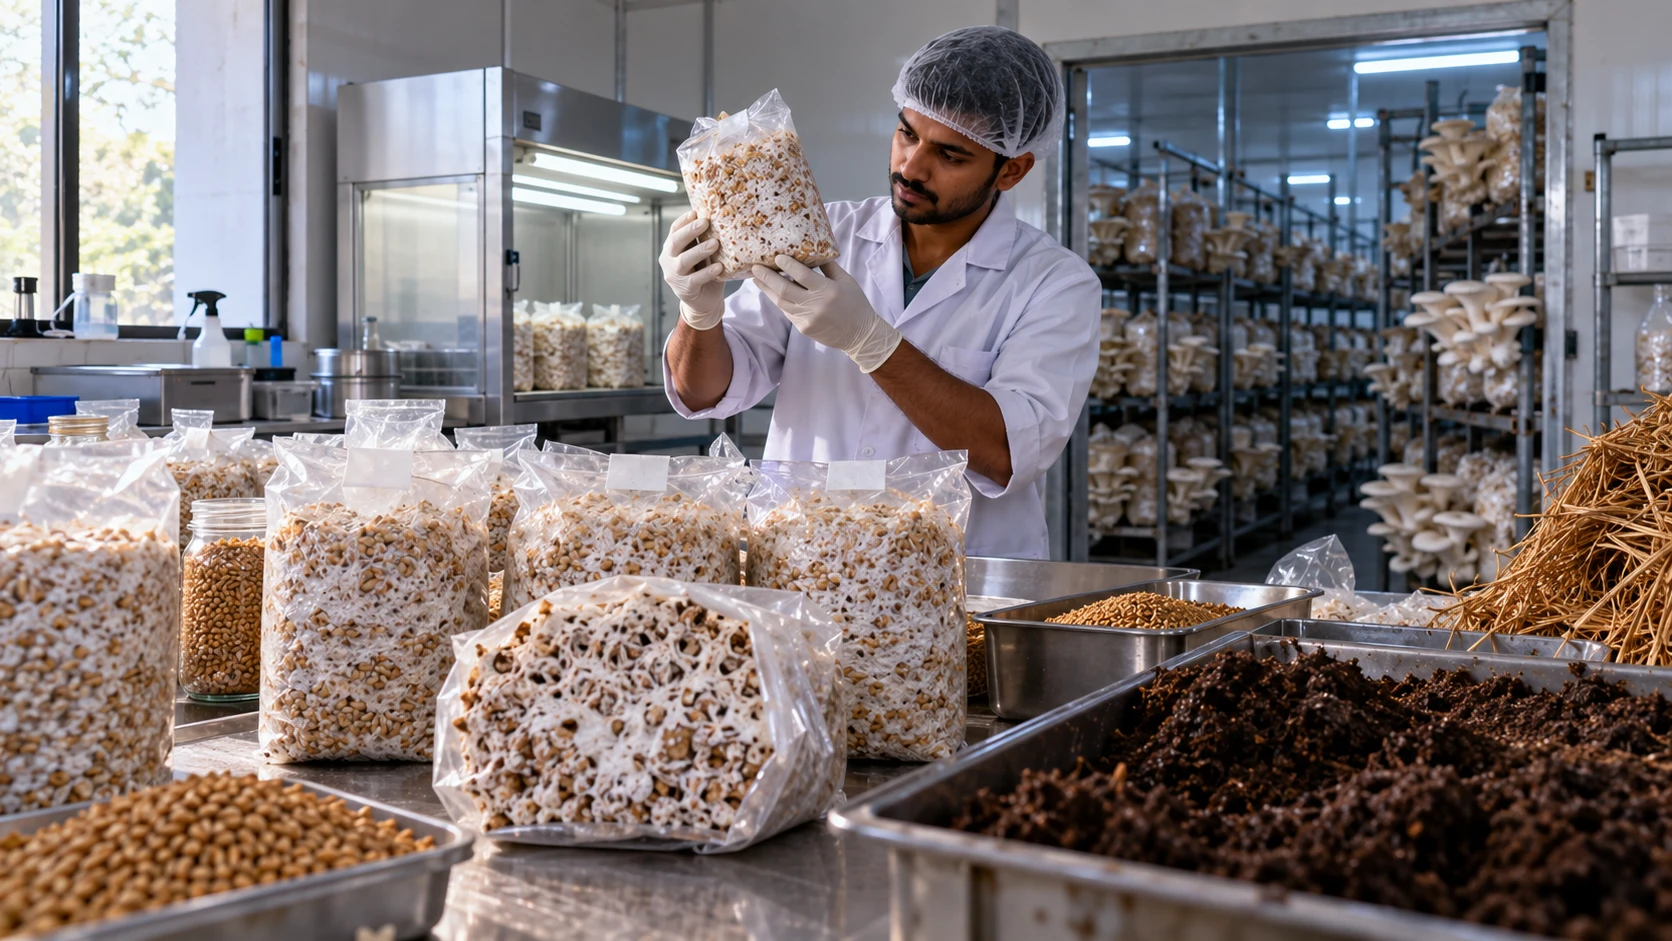
Talk to a handful of mushroom farmers and spawn comes up almost immediately, usually attached to a story about a batch that failed. It’s the one input that ends up deciding almost everything else. Compost, room hygiene, your watering schedule, none of it matters much if the spawn you started with was weak or already carrying contamination.
This post covers what spawn actually is, the kinds used in India, how to handle it properly, and where you can buy it without taking a gamble on quality.
What is mushroom spawn?
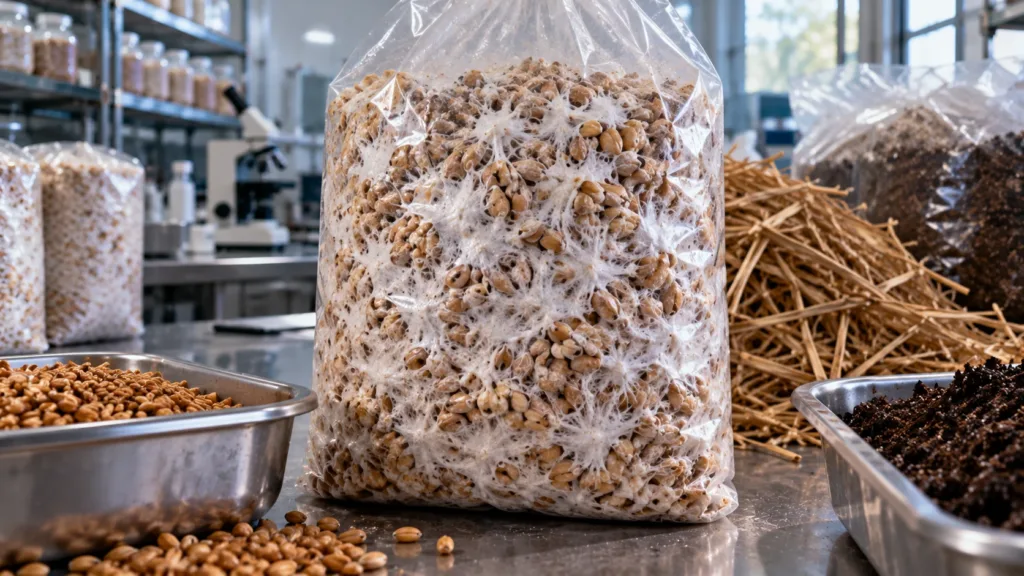
Most beginners don’t realise this at first, but mushrooms don’t actually grow from seeds the way normal plants do. What you use instead is spawn: grain, sawdust, or straw that’s already been colonized by mushroom mycelium, which is the fungus’s root-like network of threads.
If you want a rough comparison, it sits somewhere between a seed and a seedling. The mycelium is already alive and growing when you get it, so you skip the slow, unreliable process of starting from spores. Mix spawn into fresh substrate and the mycelium takes over from there, spreading through it until it eventually fruits into the mushrooms you harvest.
The different types of spawn
Which type you need really comes down to what mushroom you’re growing and what you’re growing it on.
| Type of spawn | Carrier material | Commonly used for |
|---|---|---|
| Grain spawn | Wheat, sorghum, corn, or rye grains | Oyster, button, and most common varieties |
| Sawdust spawn | Sterilised sawdust | Shiitake and other wood-loving mushrooms |
| Straw spawn | Chopped, soaked paddy straw | Paddy straw mushroom |
| Liquid culture | Nutrient broth with mycelium suspended in it | Lab use and scaling up mother cultures |
Grain spawn tends to be what most Indian growers reach for first, mainly because it colonizes quickly and is easier to produce in bulk without things going wrong. If you’re just starting out with oyster or button mushroom, grain spawn is probably where you’ll begin too.
How spawn actually gets made
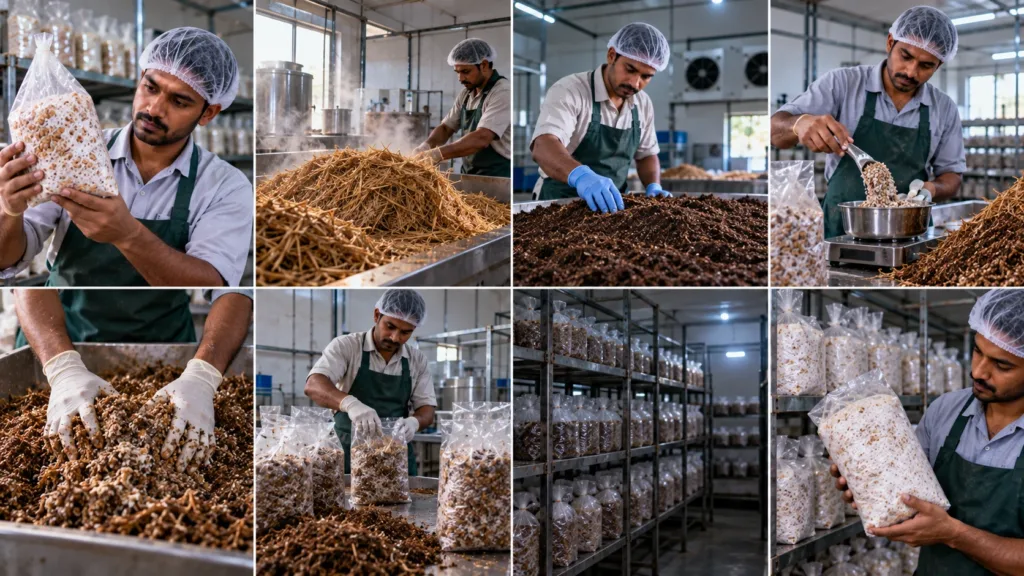
It starts with a pure culture, usually taken from a healthy mushroom or an established lab strain. That culture goes onto sterilised grain or sawdust, and from there it’s kept at the right temperature and humidity until the mycelium has fully worked its way through the material.
Honestly, this step needs a properly clean setup, almost lab-like. One stray contamination and you’ve lost the whole batch. That’s exactly why most farmers, even fairly serious ones, buy their spawn from a certified producer rather than trying to make it themselves early on. It’s just not worth the risk when you’re still learning.
Using spawn the right way
1. Look at the spawn before you use it. It should be solidly white with visible mycelium, and smell earthy, not sour or off in any way.
2. Get your substrate ready, whether that’s straw, compost, or sawdust, and make sure it’s been properly pasteurised or sterilised.
3. Let the substrate cool down to room temperature first. Mixing spawn into anything still warm will kill the mycelium almost instantly.
4. Work out your spawn rate. Most people use somewhere around 2 to 5 percent of the substrate’s weight, though it shifts a bit depending on the mushroom.
5. Mix it in, or layer it, depending on the method you’re following for that particular variety.
6. Pack everything into bags, bottles, or trays. Press gently to knock out air pockets, but don’t compact it too hard.
7. Move it somewhere dark and humid for incubation, and just let the mycelium do its thing over the next several days or weeks.
8. Check for full colonisation before you move on to the next stage.
Spawn rate by mushroom type
| Mushroom | Typical rate | Method |
|---|---|---|
| Oyster | 2 to 3% of substrate weight | Layered between straw, packed into poly bags |
| Button | 0.5 to 1% of compost weight | Mixed through the compost evenly |
| Paddy straw | 1 bottle per bed | Spread along straw bundle edges |
Take these as rough guidelines rather than fixed rules. Your supplier’s own recommendation, and your local conditions, might nudge the numbers slightly.
Where to actually buy good spawn in India
Government-certified sources are usually the safest bet, places like ICAR’s Directorate of Mushroom Research in Solan, state agricultural universities, or your nearest KVK. Pricing there tends to be reasonable too, since a lot of it is subsidised.
Private labs work well if you need bigger quantities or something less common, like Cordyceps or Lion’s Mane, that government centres don’t always stock. Either way, it’s worth asking how the batch was tested and how recently it was produced. Spawn doesn’t stay strong forever.
We happen to run our own labs at da’ Mushroom Nursery, producing spawn across both common and specialty varieties. It’s the same batches we use in our own training, so we’re not asking anyone to trust something we haven’t already relied on ourselves.
How do you know if spawn is actually good?
Good spawn looks evenly white, smells clean, and shows mycelium spread fairly uniformly across the grain or sawdust. If you see patchiness, a sour smell, or any green, black, or pink spots, that’s contamination, and it’s not worth the risk of using it anyway.
Age matters more than people expect too. Spawn that’s been sitting around for a while can lose vigour even when it still looks okay on the outside.
Mistakes worth avoiding
Going cheap on uncertified spawn to save a bit of money is probably the single most common mistake, and it almost always backfires, since a failed batch ends up costing more than good spawn ever would have. Mixing it into warm substrate is another one people trip over, along with getting the ratio wrong, either too little or too much for what you’re growing.
Hygiene during mixing and packing deserves attention too. That’s usually the exact moment contamination sneaks in.
Why it’s worth learning this hands-on
You can read all you want about spawn, but judging colonisation by eye, catching contamination early, or getting the rate right for a specific variety, those are things you really only pick up by doing them. Our training at da’ Mushroom Nursery covers this directly on our own farms, so you’re learning to tell good spawn from bad before you’ve put serious money into a full batch.
Questions people usually ask
Not technically, though it serves the same purpose. Since mushrooms don’t grow from seeds, spawn (colonised grain, sawdust, or straw) is the closest thing there is.
You can, but it needs a genuinely clean, controlled space to do properly. Most beginners are better off buying from a certified source at first and learning the ropes before attempting it themselves.
Depends on the variety and how much substrate you’re working with, but most growers land somewhere between 0.5 and 5 percent by weight.
Yes, it’s best used within a few weeks of being produced. Buying just enough for your next batch is generally safer than stocking up.
ICAR-DMR Solan, state agricultural universities, local KVKs, and trusted private labs like da’ Mushroom Nursery are all solid options.
Getting it right from day one
It’s a small part of your overall setup cost, but spawn ends up shaping almost everything about how your crop turns out. Paying a little more for something you actually trust is usually worth it.
If you want to get comfortable judging spawn quality yourself, da’ Mushroom Nursery’s training walks through this hands-on, using the same spawn we produce in our own labs.

About author

Add comment