
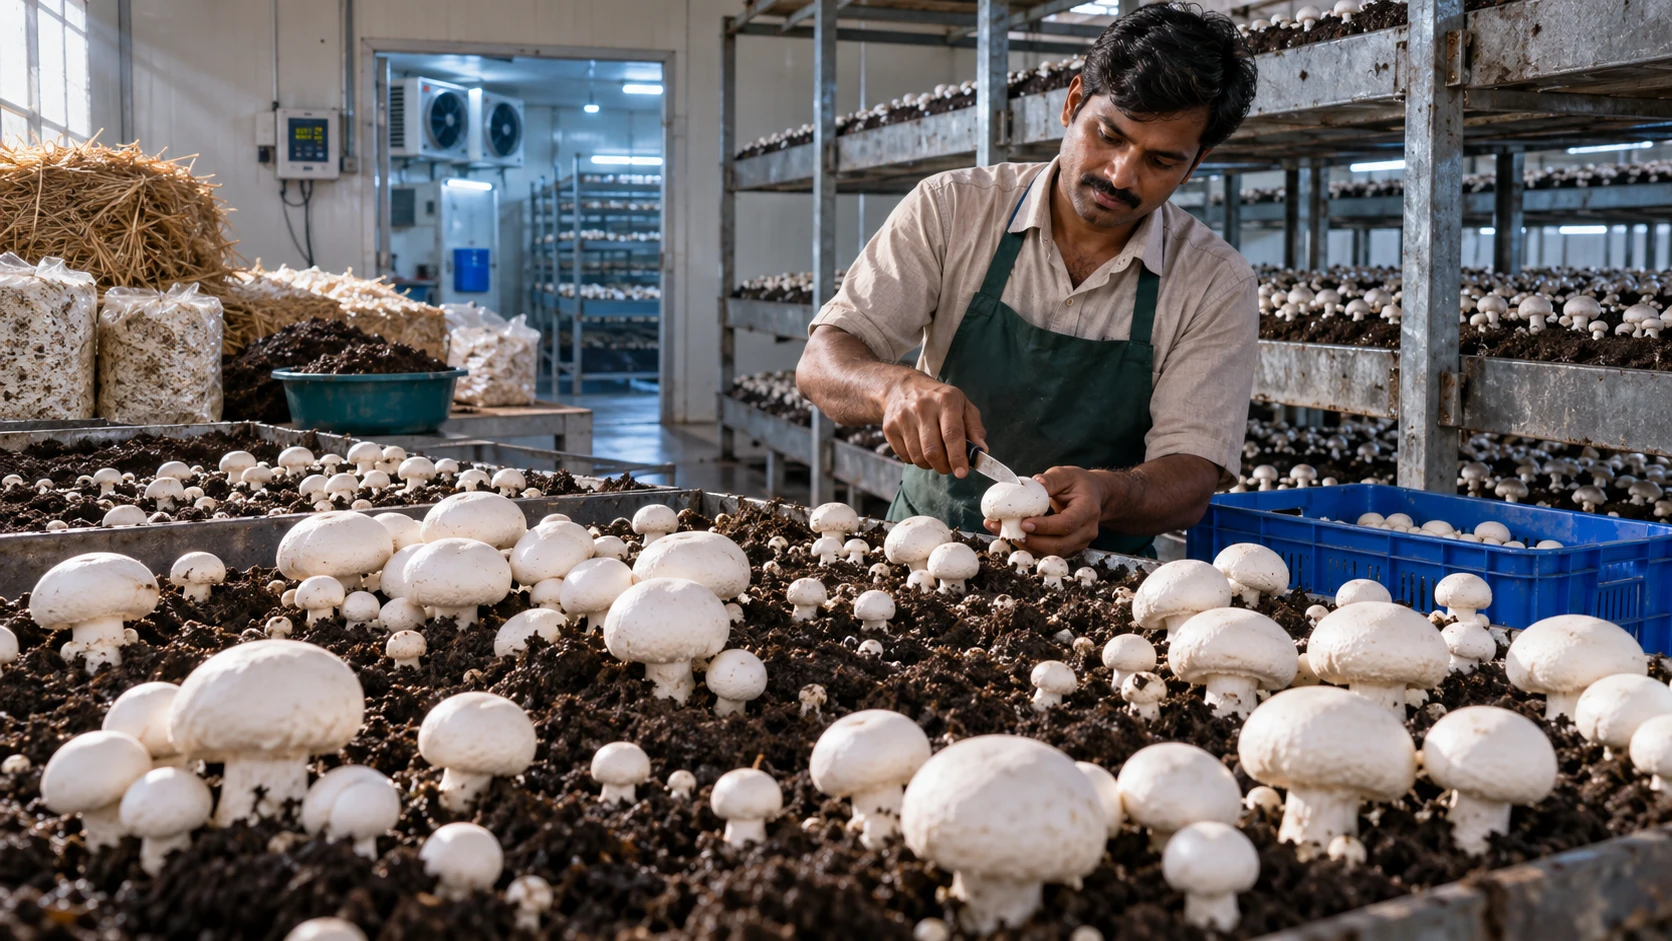
Button mushroom is the one most people picture when they hear the word mushroom. It’s the small, round, white cap you see in every vegetable market and grocery store, and it also happens to be India’s most commercially grown mushroom by far.
Unlike oyster mushroom, button mushroom needs a bit more setup and a cooler growing environment, so button mushroom usually isn’t the first variety beginners try. But once you understand the process, it’s one of the most reliable ways to build a steady mushroom farming business, thanks to strong year round demand and a well established market.
What is button mushroom?
Button mushroom, known scientifically as Agaricus bisporus, is also called white mushroom or table mushroom in most Indian markets. It makes up around 90 percent of all mushrooms consumed globally, which tells you something about how established the demand already is.
It’s grown on mushroom compost rather than straw alone, and needs a layer of casing soil on top for the mushrooms to actually form. This is one of the bigger differences between button mushroom and easier varieties like oyster.
Why button mushroom is worth the extra effort
The biggest reason to try button mushroom farming is demand. Button mushroom has been the standard mushroom in Indian kitchens and restaurants for decades, so selling it is rarely a problem once you have a decent crop.
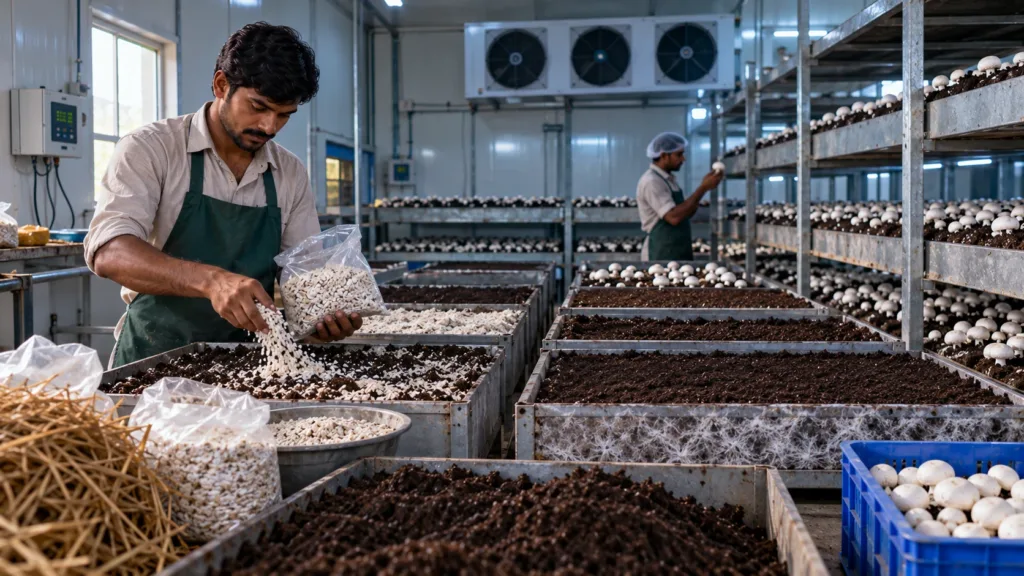
It also grows well during India’s cooler months, roughly October to March, which lines up conveniently with when many other crops slow down. And because the market is mature, there are established buyers, wholesalers, and even export channels already in place, so you’re not building demand from scratch the way you might with a newer variety.
Growing conditions button mushroom needs
Temperature control matters a lot more for button mushroom than it does for oyster mushroom. Button mushroom needs different temperatures at different stages.
| Growth stage | Ideal temperature | Humidity needed |
|---|---|---|
| Vegetative growth (spawn run) | 20 to 28°C | 80 to 90% |
| Fruiting (mushroom formation) | 12 to 18°C | 80 to 90% |
That drop in temperature during the button mushroom fruiting stage is what trips up a lot of first time growers. Without some way to cool the room, button mushroom formation slows down or doesn’t happen properly at all.
What you’ll need to get started
You’ll need good compost (made from wheat straw, poultry manure, and other organic material) to start button mushroom farming, along with spawn from a certified source like ICAR-DMR Solan, casing soil, and a growing room where you can control temperature and humidity reasonably well.
Starting costs for button mushroom farming in India typically range from around ₹50,000 to ₹85,000, depending on your scale and how much infrastructure you already have. Here’s a rough breakdown for a small-scale setup:
| Cost item | Approximate range |
|---|---|
| Compost materials (straw, manure, gypsum) | ₹8,000 to ₹15,000 |
| Spawn | ₹3,000 to ₹6,000 |
| Casing soil | ₹2,000 to ₹4,000 |
| Trays, shelving and basic tools | ₹10,000 to ₹20,000 |
| Room setup (cooling, humidity control) | ₹20,000 to ₹35,000 |
| Miscellaneous and labour | ₹5,000 to ₹10,000 |
These numbers for a button mushroom farming setup will shift based on your city, the scale you’re building, and how much of the setup you can manage yourself versus hiring help for.
Growing button mushrooms step by step
1. Prepare the compost for your button mushroom bed. Soak wheat straw for several days, then mix in other raw materials like poultry manure and gypsum. This composting process usually takes two to three weeks.
2. Fill trays or beds with the finished button mushroom compost, spreading it evenly.
3. Spawn the compost by mixing in your button mushroom spawn.
4. Let the spawn run. Keep the room at 20 to 28°C while the mycelium spreads through the compost during this spawn run stage, usually for 12 to 15 days.
5. Apply the casing layer , a mix of soil and organic matter spread on top of the compost. This layer is what triggers button mushroom formation.
6. Drop the temperature to 12 to 18°C once casing is complete, to begin the button mushroom fruiting stage.
7. Wait for pinning , when small mushroom heads, called pinheads, start appearing on the casing layer, usually within 10 to 15 days.
8. Harvest by cutting at the base with a sharp knife, once the caps are firm and closed. Several flushes of cropping follow over the next few weeks.
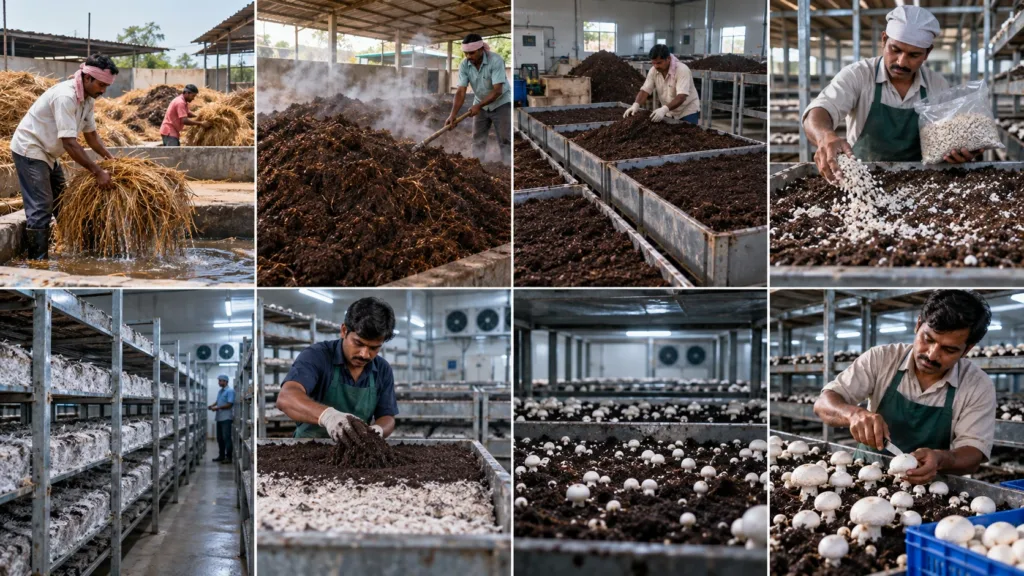
Here’s roughly how the timeline plays out from start to finish:
| Stage | What happens | Typical duration |
|---|---|---|
| Composting | Straw and other materials are mixed and left to decompose | 2 to 3 weeks |
| Spawning and spawn run | Spawn mixed in; mycelium spreads through the compost | 12 to 15 days |
| Casing | Soil layer added on top of the compost | 1 day, then 8 to 10 days to settle |
| Pinning | Small mushroom heads begin to form | 10 to 15 days |
| Cropping | Mushrooms harvested across several flushes | 6 to 8 weeks |
Total time from starting your compost to your last harvest of button mushroom usually works out to around three months.
What kind of yield and profit can you expect?
On average, growers get about 3 to 4 kg of mushroom per tray, though favourable conditions can push that up to 6 kg. Combined with steady market demand and a stable mushroom market price across most Indian cities, this makes button mushroom one of the more dependable options once you’ve got the process down. Some growers also tap into mushroom export channels once their quality and volume are consistent enough.
Costs and returns for button mushroom vary a lot by scale, so it’s worth starting with a smaller setup, learning how your specific compost, spawn, and room behave, and then expanding once you’re confident in the numbers.
Button mushroom and your health
Button mushroom isn’t just easy to sell, it’s also genuinely nutritious. Here’s what a typical 100 gram serving gives you:
| Nutrient | Amount per 100g | Why it matters |
|---|---|---|
| Calories | 22 kcal | Low calorie, good for weight management |
| Protein | 3.1 g | Solid plant-based protein source |
| Dietary fibre | 1.0 g | Supports digestion and gut health |
| Riboflavin (B2) | 0.4 mg | Helps metabolism and energy production |
| Niacin (B3) | 3.6 mg | Supports nervous system and metabolism |
| Selenium | 13.9 mcg | Supports immune function and antioxidant defence |
| Potassium | 318 mg | Helps regulate blood pressure |
| Vitamin D (if UV exposed) | Up to 5.6 mcg | Rare in plant foods, supports bone health |
Some studies have linked regular mushroom consumption to improved cholesterol levels and better blood sugar control, and button mushroom exposed to UV light even becomes a natural source of vitamin D, which is rare for a plant based food. None of this is medical advice, but it’s a genuinely useful selling point if you’re marketing to health conscious buyers.
Government support for button mushroom farmers
A few schemes are worth knowing about:
| Scheme | Offered by | What it covers |
|---|---|---|
| Agri Infrastructure Fund | NABARD | Credit-linked subsidies for mushroom unit infrastructure |
| MIDH (Mission for Integrated Development of Horticulture) | Ministry of Agriculture | Up to 50% subsidy on mushroom unit setup, varies by state |
| Export support schemes | APEDA | Support for export-oriented mushroom production and processing |
Since these schemes and their terms shift over time, it’s best to confirm current button mushroom subsidy details with your state horticulture department before you plan your budget around them.
Common mistakes to avoid
Skipping proper composting or rushing the process is a common one, since undercooked compost leads to poor spawn growth. Not managing the temperature drop for fruiting is another big one, since button mushroom simply won’t form properly if the room stays too warm.
Using poor quality spawn, overcrowding your beds, and neglecting hygiene are the other usual suspects in button mushroom farming. And as with any mushroom farming venture, having no buyer lined up before harvest is a mistake worth avoiding.
Why training helps here more than usual
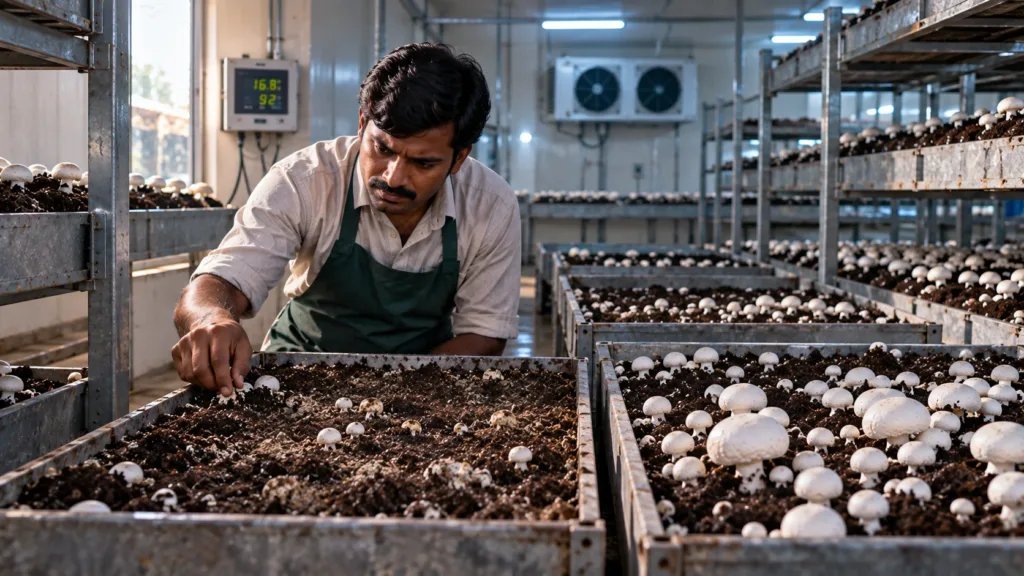
Button mushroom has more moving parts than beginner varieties like oyster, composting, casing, and temperature management all need to be right. Reading about button mushroom farming only gets you so far. At da’ Mushroom Nursery, our training covers button mushroom cultivation hands on, so you learn to judge compost quality and manage the fruiting stage on a real working farm, not just from a manual.
Questions people usually ask
Yes, button mushroom farming is largely profitable because demand is already well established. Profitability depends on managing your compost quality and temperature control properly.
Button mushroom farming typically costs between ₹50,000 and ₹85,000 to start, depending on your scale and existing infrastructure.
October to March is best for button mushroom farming, since cooler weather makes the fruiting temperature easier to maintain.
Button mushroom needs compost and a casing layer, along with a temperature drop during fruiting. Oyster mushroom is simpler, growing on pasteurised straw without either of those extra steps.
KVKs, ICAR institutes like ICAR-DMR Solan, and private training providers like da’ Mushroom Nursery all offer hands on programmes.
Getting started
Button mushroom takes a bit more effort than other varieties, but the payoff of button mushroom farming is a crop with strong, established demand across India. If you’re ready to learn the process properly, da’ Mushroom Nursery’s training covers button mushroom cultivation from compost to harvest, on our own working farms.


About author

Add comment